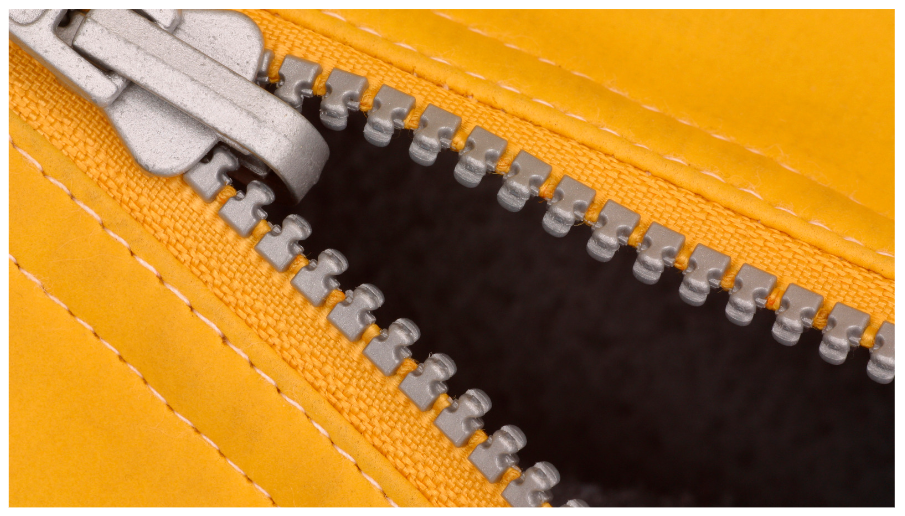
Zippers nearly broke me. I managed to sew many things while avoiding zippers. I sewed buttonholes on one dress to avoid zippers. However, one day, with the courage that middle age can bring, I decided to brave a small zipper pouch. I felt invincible. As time wore on, I became more comfortable, and now I can handle dozens of zippers a day.
This success did not happen without some biblical-level wailing and gnashing of teeth. I remember one time getting my husband to help and he too, became one more broken soul in the work room. Having now conquered this multi-toothed demon, however, I’m here to tell you how we learned, and how your work with zippers might become less stressful.
The steps I use are at the bottom (item #3). Including this last is not a tease; scroll down if you want. However, before I figured out those steps, I had to learn lessons #1 and #2.
1. Always confirm compatibility for the pull + zipper size, material and brand.
This was the problem when my husband and I were first learning zippers. We’d been to an upholstery supply store and bought some continuous zipper yardage and the accompanying pulls. We were assured they were all size #5. However, when we got home, the pulls would only work on the zipper from that store, even though I only buy size #5 zips.
This is where we learned about the difference between brands of zippers. The distinction for YKK zips is well known, but that wasn’t the case with us — these weren’t YKK zips. One thing we didn’t know was the material for the zipper teeth (plastic vs. nylon coil); my suspicions is that compatibility with material and pull also matters.
Resolution: I mainly stick to two vendors for zippers and I know their pull are interchangeable. If in doubt, buy pulls and zippers from the same vendor, and of course, make sure of size.
Salon.com has an interesting article about the history of YKK zippers you can read here.
I’m a huge believer in Threads magazine, and they have a primer on zippers here.
Also, a wonderful guide with diagrams by Trivantage here.
I am not affiliated with any of these companies, nor do they sponsor this blog. Truthfully, these companies don’t know me from Adam’s left rib, as my mother would say. These are the results of my internet searches.
2. Don’t always think it’s you.
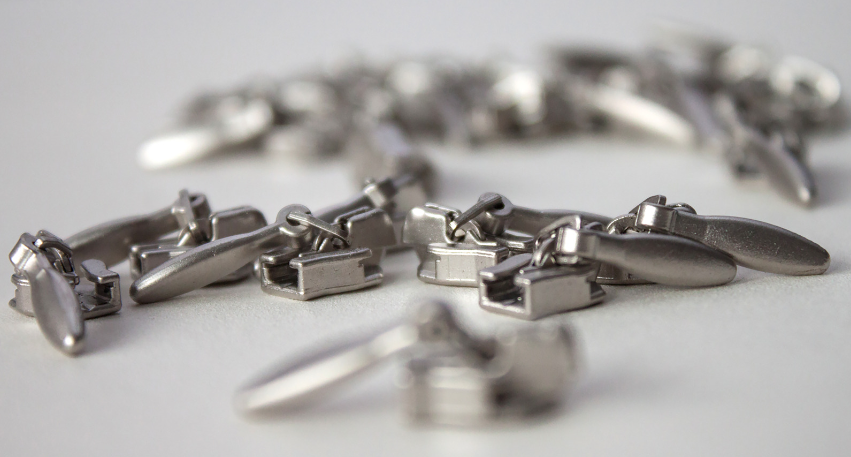
Check the end of the zipper for a snagged tooth, fraying or other problems. Even the pull may be damaged or defective. Don’t jump to the “I can’t do this” mode of thinking.
As with alot of things in life: sometimes it’s them, not you.
3. How I do it:
I use a jig.
My jig can accomodate both #3 (on the left) and #5 (right) zipper pulls.
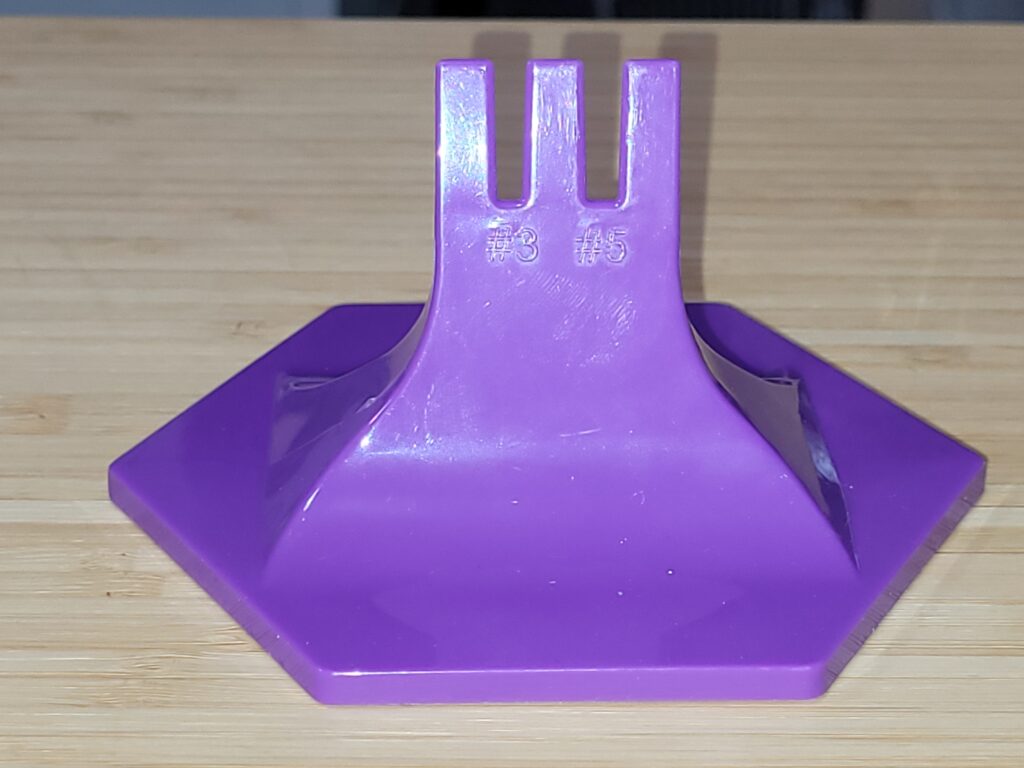
I’ve included this so you can do a reverse image search because I don’t remember the brand name (I’m sure there is more than one) or where I got it. I love it though. That said, some people use forks, I’ve even seen a fork bent and attached to a block (brilliant idea, by the way). This is what I went with. Check out various tutorial videos before you buy or build; some jigs don’t work for everyone.
Prep the Zipper
Two important things: first, trim the zipper and burn off the frays. Those frays will be your worst enemy. Secondly, and this has been incredibly helpful to me: before taking the zipper apart, mark with an “alignment” line on the reverse side of the zipper.
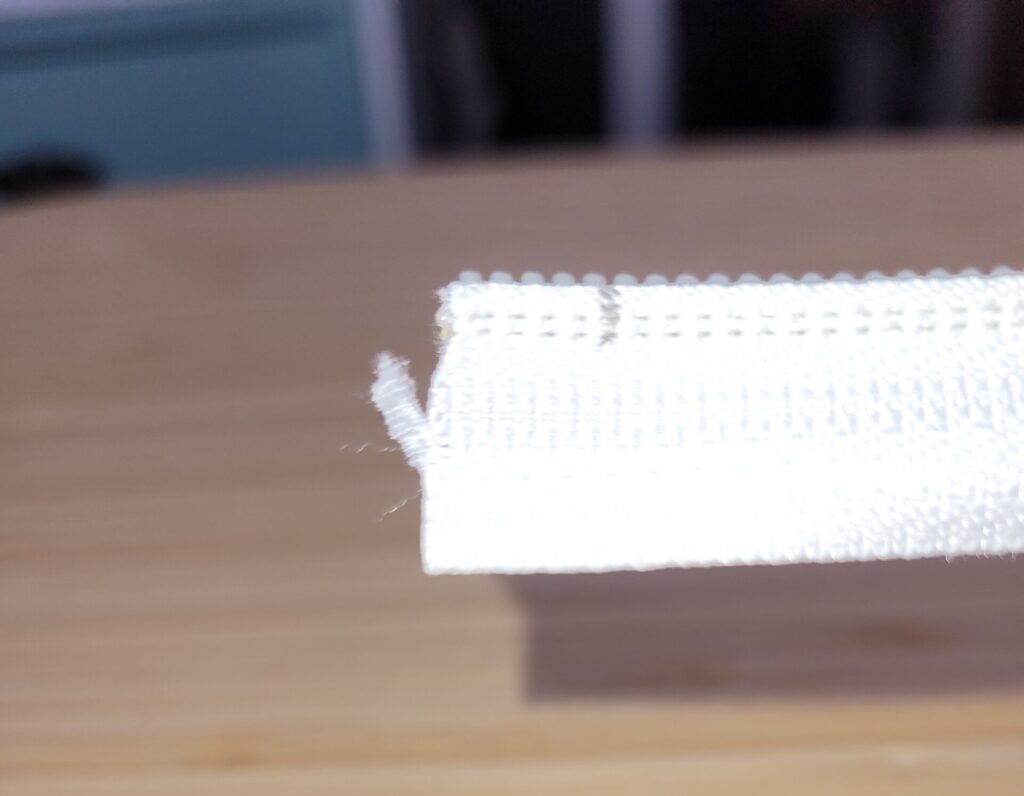
This little frayed end is a trouble-maker and will make inserting the zipper difficult.
Make sure the end of the zip is free of threads or frays.
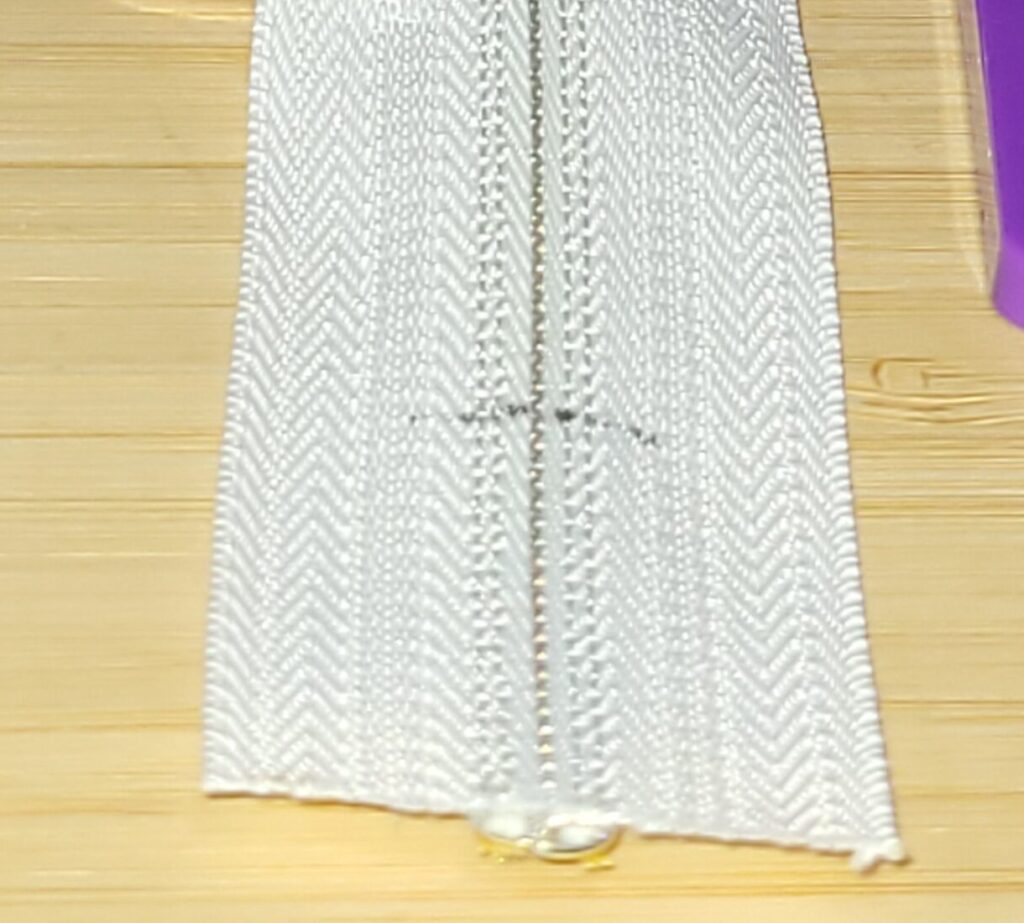
You’ll see the alignment marking on the bottom. Through trial and error I’ve discovered a minimum of an inch from the end is best. But not too far.
When working on bags where the zip is closed at both ends, this means you’ll be able to see if the zipper is not lined up immediately, without having to turn your project over and test the zipper pull and look for gaps. When working on bags where the zipper is not closed before attaching, I’ve found this helps me make sure the sides of the bag are lined up when I go to install the pull.
Seat the zipper pull.
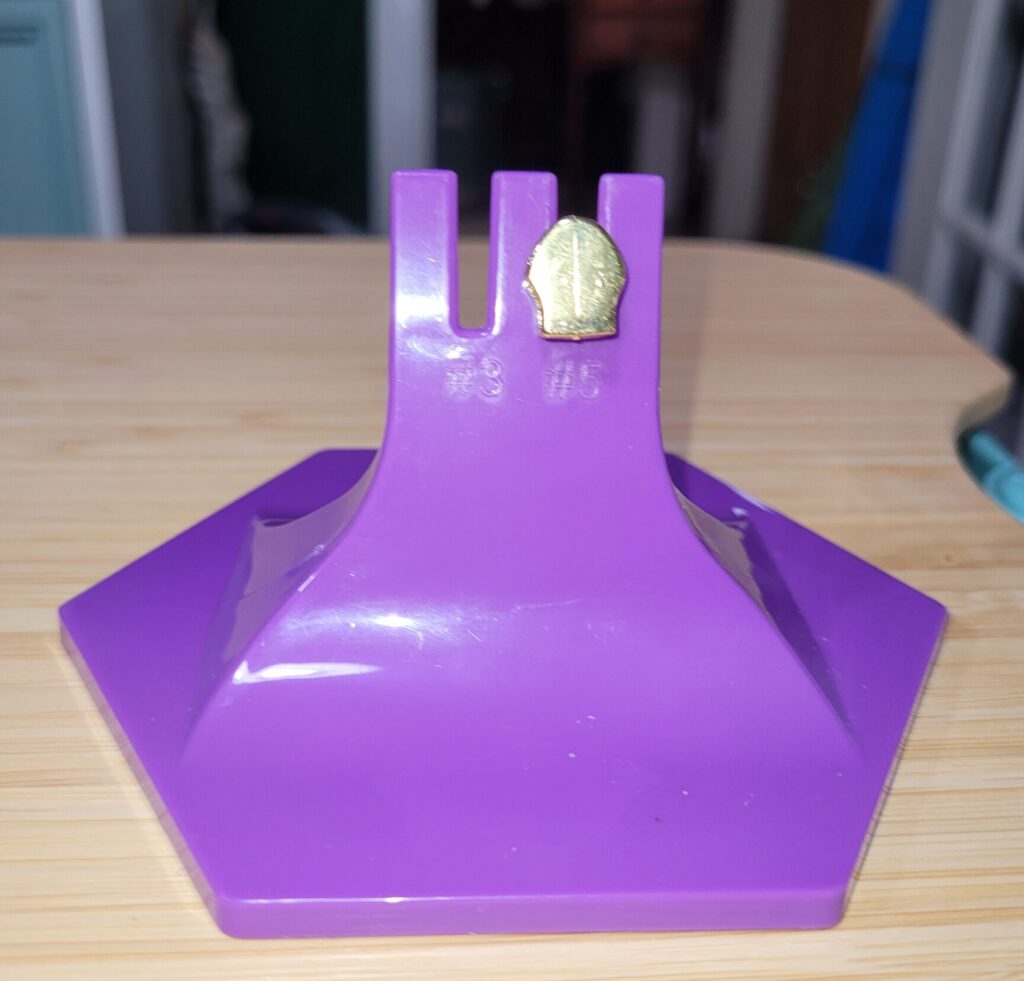
This seems obvious, but it did take me a few videos and tries to memorize that I needed to install the pull with the shoulders (officially called the “throat”) pointing upward.
Make sure the zipper sits securely and is level. If not, try it in the other seat. I have #5 pulls that are more secure in the #3 seat.
Hold the zipper sides in a V.
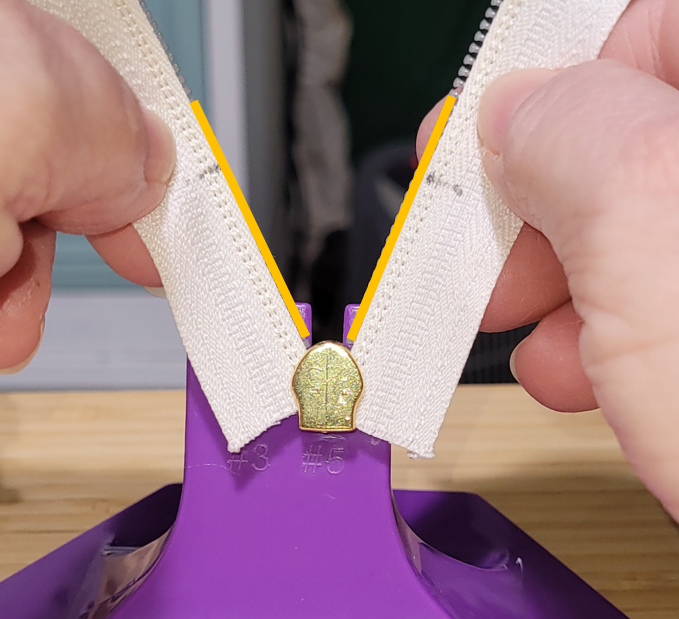
Learning this made a tremendous difference for me.
Don’t hold the zipper sides parallel; hold them as shown, in a V. The angle is going to depend on your hands and your dexterity. I have small fingers and some problems with my pinkies, so this works for me with this zipper.
I have used a wider angle in the past, though. So if you think it will work for you, try it.
Also, don’t worry about aligning the bottom edges, because they may not be perfect, but try to get the alignment marks as close as you can. They don’t look close in this pic, but they came out right (see below)
Then push – gently down.
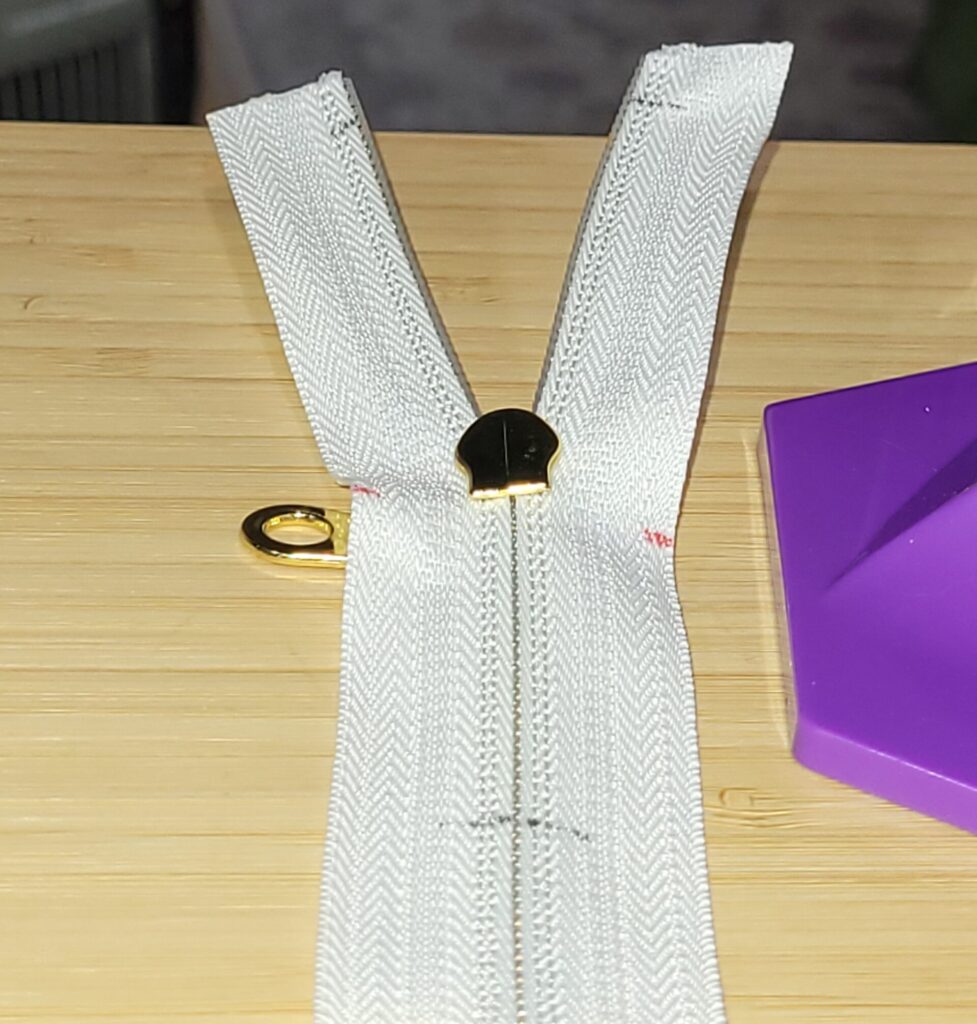
Be sure to apply some pressure downward.
It may take a couple of times, but using the alignment marks to see if the zipper lined up in the pull alone saves some time. When working on projects where the zipper is sewn separately onto both ends then the pull is installed, I leave a healthy tail to give me room to have my V spacing.
Some may notice that the mark looks like the close-up further up. This is a picture of the zipper after installing the pull. I forgot to take a pic of the alignment mark until later.
I will take a hiatus from this blog next Monday so I can prepare for my appearance at the Residence at Penniman Hill craft fair on November 16th. Then I will return!


Leave a Reply